
Growing Poppies! Step by Step Guide
/
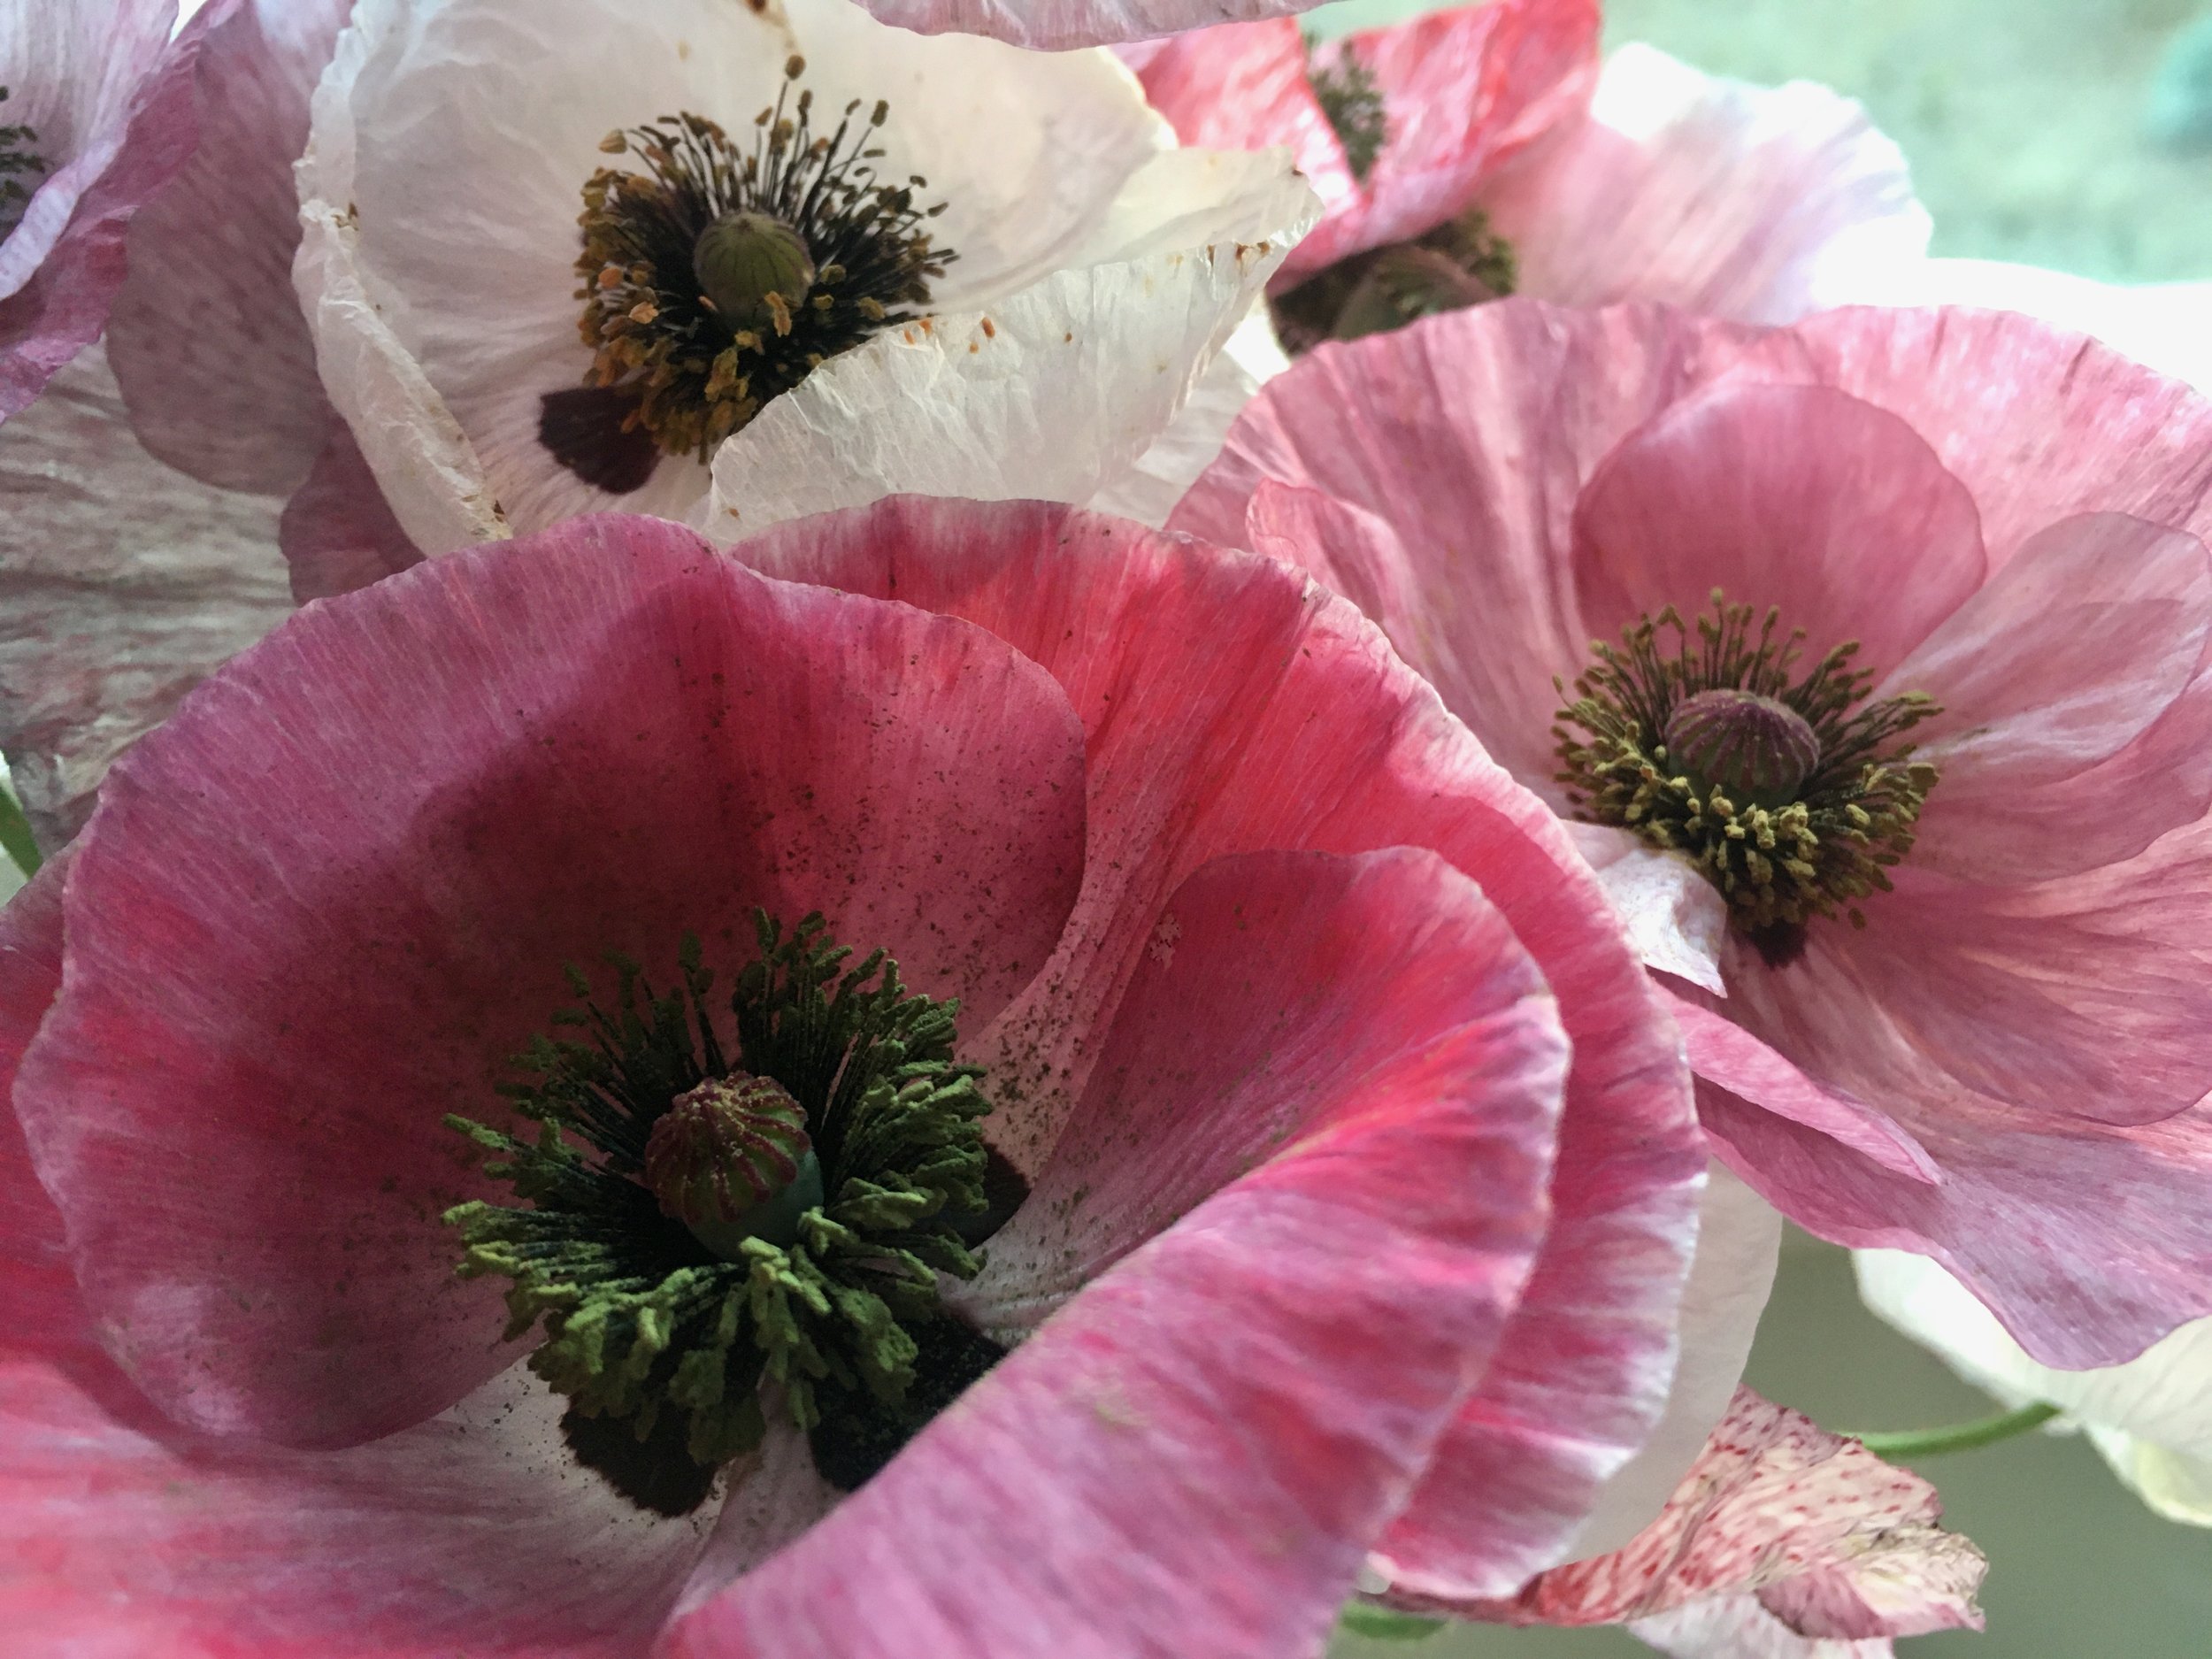
‘pandora’ shirley poppy
Poppies possess some of the most unusually stunning colours, textures and shading in the flower realm. Waving in the wind, beloved by bees, bursting open as the first of the spring flowers fade, they create a stunning garden display, filling the gap between spring bulbs and the fading apple blossoms and warm season flowers.
Of the true poppies, Shirley and Breadseed are the easiest. Iceland Poppies require more skill and have a longer vase life. While not true poppies, California poppies are easy to grow, thrive in summer and again have an unusual silk like texture.
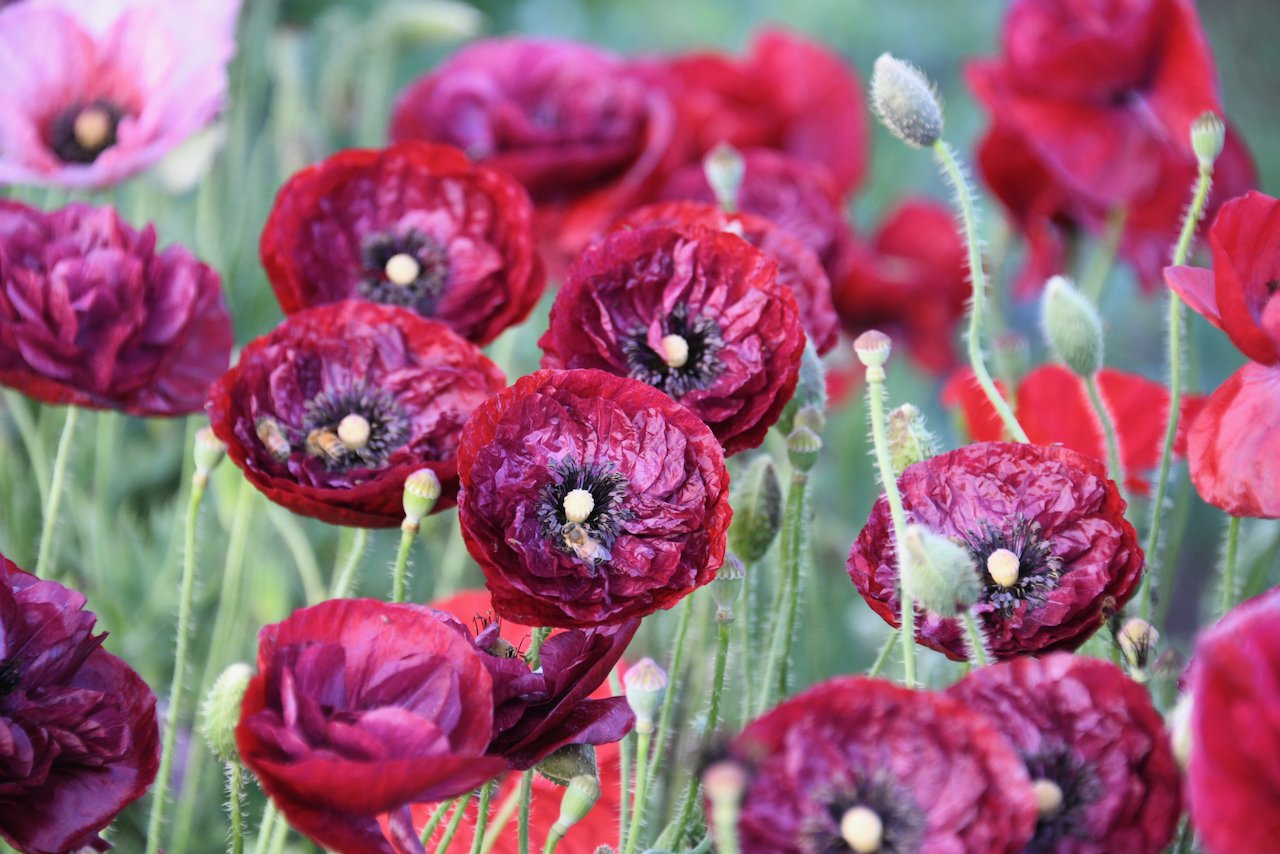
SHIRLEY AND BREADSEED POPPIES
Shirley (Papaver rhoeas) and Breadseed poppies(Papaver spp.) are two of the easiest flowers to grow – provided your timing is correct. These poppies are cold hardy and provide larger, earlier, blooms on strong, prolific plants when sown late March through early August.

‘peony black double’ Poppy
OPTIMUM GERMINATION
Poppies responds to temperature variation and require a cold chilling. Seed sown in autumn through mid winter receives this naturally. In areas where the ground freezes and there is snowfall, sow with the melting snow.
Germination Temperature 16-24C
Days to Germination 14-28
SOIL PREPARATION
Poppies like full sun and fertile soil - especially Breadseed Poppies. Amend the soil with compost and deep aeration in autumn prior to sowing.
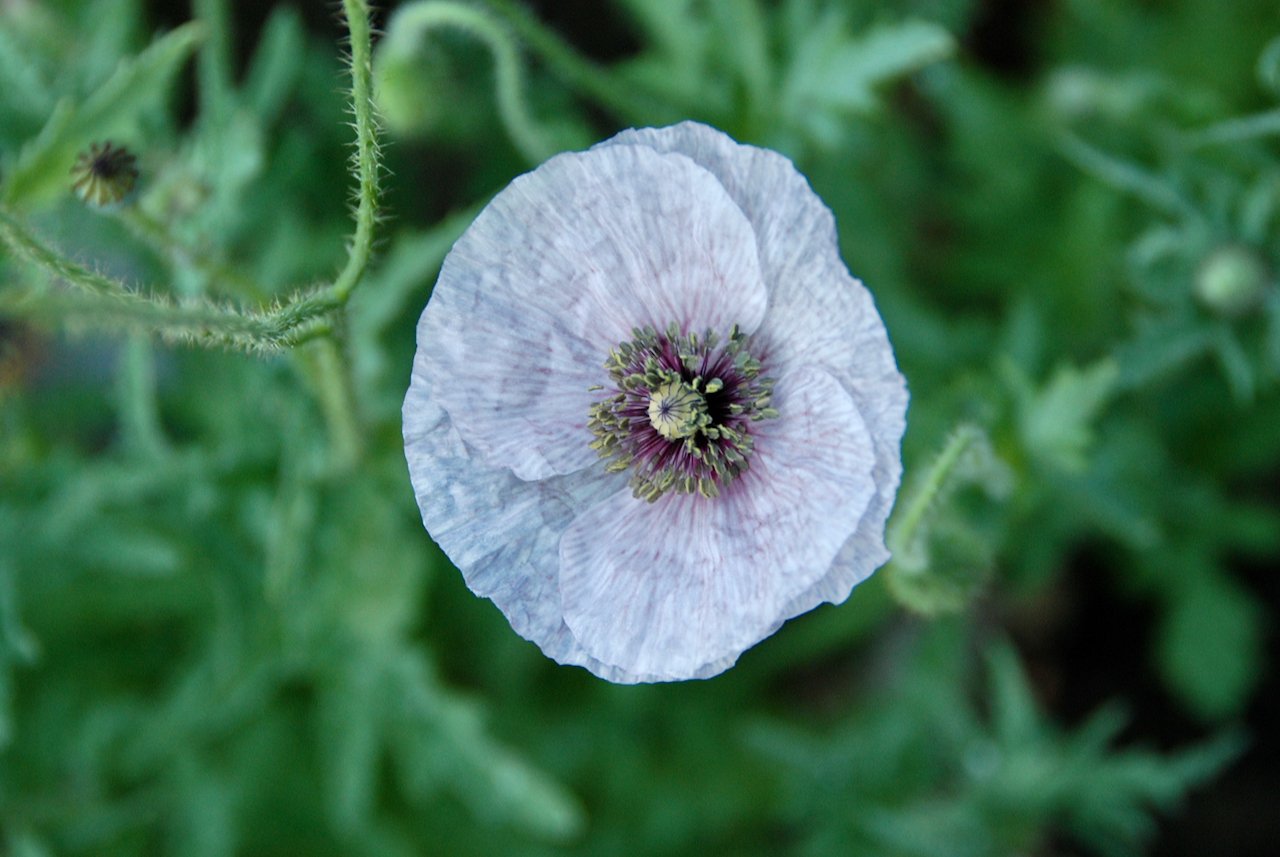
‘Mother of pearl’ Shirley poppy
SEED SOWING
Poppies dislike root disturbance. If you have a quantity of seed or prefer direct sowing, sow where they will grow for best results.
Transplant them using soil blocks (compressed soil seed starting cells) which do not shock the roots. Not only does this offer a higher germination result, it also allows more time to prepare the soil and exact plant placement.
Poppy seeds are incredibly small – like a grain of caster sugar - and they do require ample space for strong flowering.
Direct Sowing
Mix the seed with sand before sprinkling them on amended soil. As the seed is so tiny, this will help disperse the seed in a larger area.
Breadseed poppies NEED LIGHT to germinate. Surface sow or very lightly cover.
Shirley poppies prefer DARKNESS for germination. Sow shallowly, lightly covering.
After germination but before plants are 12-15 cm high, thin to one plant per 15-20cm.
‘amazing grey’ shirley poppy
Transplant
Place 2 seeds in each cell. DO NOT cover Breadseed poppies. LIGHTLY COVER with vermiculite, Shirley Poppies. Poppy seeds prefer cooler temperatures for germination. DO NOT place on a heat mat. They also prefer fluctuations in day and night temperatures.
Keep evenly moist and use a soft spray of water so as not to dislodge seed.
When the plants have 2 true leaves, thin to one per cell. Transplant at 15-20cm spacing in well amended soil when plants have 3-4 leaves. Plants thrive in cooler temperatures and survive frosts.
In our temperate climate where the ground does not freeze, we sow in March and transplant in May.
HARVEST
Shirley and Breedseed poppies make amazing garden displays but have short vase lives. Pick when the buds are just opening (a slit of colour is visible) before the bees have found them. Sear the stem ends with boiling water. Shirley poppies can last 3-4 days in a vase while Breadseed poppies may last 2-3 days.
‘mother of pearl’ shirley poppy
ICELANDIC POPPIES

Iceland poppies are the chiffon petaled, luminous edged, single vase variety. While requiring more care in sowing, the reward is great as these are graceful, softly colored blooms have a longer vase life.
We offer Colibri Icelandic poppy seeds, a tetraploid version of the Iceland poppy. They grow taller and wider than the Champagne Bubble series and have larger blooms.
Icelandic poppies are notoriously slow to grow. It takes three to four weeks to get to the first true leaves, and nine weeks to get from seed to a transplantable plug. We start ours in late Autumn, transplant into an unheated polytunnel in mid Winter. This allows them a long period of establishing in the cold, which they love! They bloom from Spring through Summer only finishing when summer’s heat is high.
OPTIMUM GERMINATION
Poppies thrive in cooler temperatures. But Iceland Poppies germinate better at a steady temperature between 17-20°C.
Germination Temperature 17-20°C
Days to Germination 14-21
SOIL PREPARATION
Poppies like full sun and fertile soil. Amend the soil with compost and deep aeration in autumn prior to transplanting.

SEED SOWING
Poppies dislike root disturbance. We have great results transplant them using soil blocks (compressed soil seed starting cells) which do not shock the roots.
Transplant(recommended)
Cold stratification aids in germination of Icelandic poppies. Place seed in the fridge for 5-7 days ahead of sowing.
Because of the lengthy time it takes for Icelandic poppy seeds to establish, they are prune to fungal and bacterial issues in the greenhouse such as dampening off. Use a soil medium that is not heavy in compost, avoid added fertilizers, beware of over watering and provide air circulation to ward off dampening off.
We place a small amount of vermiculite into the seed sowing depressions of the soil blocks ahead of sowing one - two seeds per soil block. Do not cover the seed as Iceland poppied need light to germinate. The vermiculite aids in keeping the seeds moist and also attracts extra light for quickest germination.
Bottom water to avoid dislodging seeds.
For quickest germination, we provide the trays with an even temperature between 17-20°C and use a clear domed lid to maintain humidity and keep the small seeds from drying.
Once germinated, remove dome. We keep them at 17-20°C until they develop true leaves. Then we continue to grow in unheated greenhouse with ample light for 8-10 weeks before transplanting.
Icelandic poppies do look like they are languishing as transplants. But they perk up as soon as they are transplanted.
Iceland poppies perform best in cooler conditions – below 20°C. Bloom production and quality declines as temperatures rise. Start seeds early - late Autumn - early Winter. We transplant into an unheated poly tunnel in winter for earliest blooms.
HARVEST
Harvest at bud burst when the colour just starts to show through a crack. We have been told that they have a longer vase life if harvested before the bees can cause pollination. Frequent, early morning harvests at bud crack help with this.
Immediately after harvest sear stem ends using an open flame or dip in boiling water for 7-10 seconds. Also, a floral designer asked us to just pack the freshly harvested blooms into a box and let the ends sear naturally in the cooler.
Place treated stems directly into fresh water and a 1 week vase life can be expected.